How to make a Screen for Screen Printing.jpg
DIY Screen Printing

How to Make a Screen for Screen Printing: A Step-by-Step Guidelines

Getting your Trinity Audio player ready...

In a cozy corner of the crafting universe, a charming technique called screen printing was born. It quickly became a darling among artists and dreamers, a magical way to splash ideas and dreams onto the canvas of reality. Whether you’re a hobbyist with glittering eyes or an aspiring creator with big dreams, learning how to make a screen for screen printing is like finding a key to a secret garden of endless creativity.

Come, let’s stroll down this whimsical path, hand in hand, as we spin you a tale of how to embark on this enchanting screen printing voyage.

A man using a squeegee to screen print a design onto a shirt.

Understanding the Basics of Screen Printing

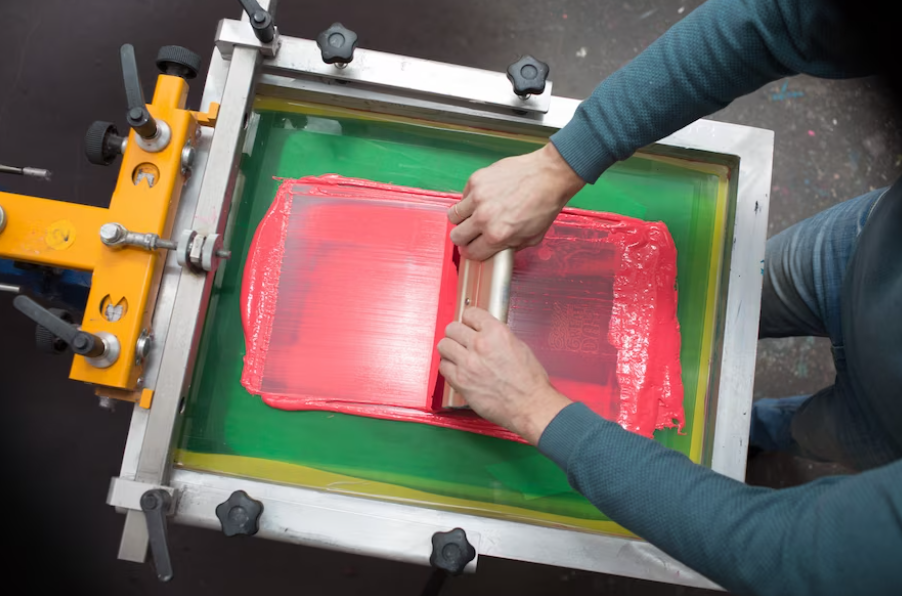
If you’re interested in DIY projects, it’s important to have a solid understanding of the craft you’re working on. When it comes to screen printing, the process involves transferring designs onto surfaces using a screen. This could be a piece of fabric that you want to use to create fashion items or paper that you want to use for artistic endeavours.

At the heart of the screen printing process s is the screen itself. This is the canvas that you will use to create your designs. You can either purchase a screen or make one yourself. The benefit of making your own screen is that you can customise it to your specific needs, ensuring that you have the right size and shape for your project.

Once you have your screen, you have endless possibilities for creating unique designs. You can transfer your own artwork or designs onto the screen and then use it to print your creations onto your chosen surface. With practice, you can become a master at screen printing and use your newfound skills to create amazing DIY projects.

Read More: FAQs for uploading artwork

women using her own screen for screen printing.

Note: Due to our busy lives, we recommend using professional custom screen printing services for t-shirts, pants, caps, polo shirts, singlets, hoodies, jackets, sportswear, tote bags, and other items.

Gathering Your Magical Tools

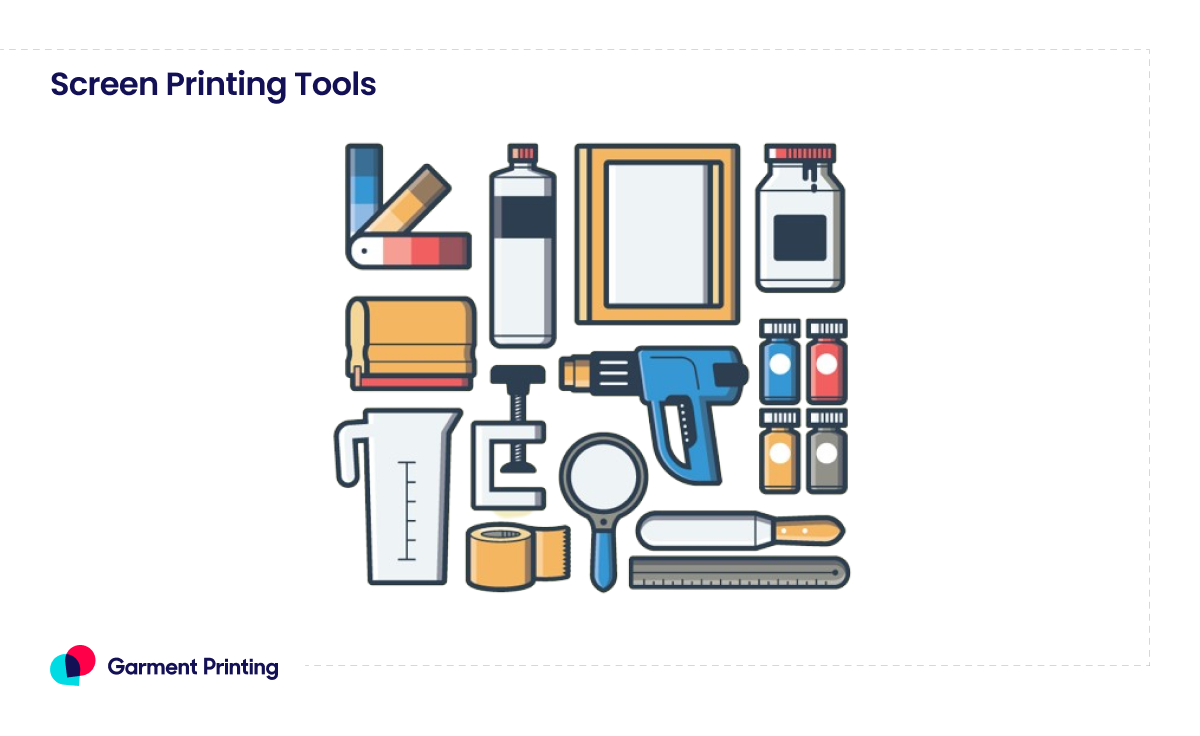
Every craftsperson needs their tools, and here’s what you’ll need for your screen printing quest:

A wooden frame – foundation for your masterpiece.

  • Silk screen mesh – the fabric of your creative canvas.
  • A staple gun – your tool to secure the mesh in place.
  • Screen printing emulsion and sensitiser – the potion to make your design come alive.
  • A mystical dark room – a haven for your screen to dry.
  • Transparency film – the carrier of your envisioned design.
  • A squeegee – your wand to spread the ink.

Tools for Screen Printing – DIY Home Project

Tools for Screen Printing

Steps to Make Screen for Screen Printing

Step 1: The Frame – Your Tale’s Beginning

Measure and Cut

Begin by shaping your wooden frame, measuring and cutting it to the size of your story.

Assemble

To build a sturdy frame, clamp the corners and use wood glue or screws to assemble them like a puzzle.

Step 2: The Mesh – Weaving Your Canvas

Mesh Lay the

Gently place the silk screen mesh across the frame.

Stretch and Secure

Stretch the mesh with care, stapling it to the frame to create a surface both taut and smooth.

Step 3: The Emulsion – Painting Your Dreams

Mix the Potion

You must blend your screen printing emulsion and sensitizer according to the instructions given by the alchemist.

Apply the Emulsion

In the sanctuary of your dark room, coat the mesh evenly with this magical mixture.

Step 4: The Exposure – Revealing the Hidden

Place Your Design

Let your transparency film, bearing your design, rest upon the screen.

Bathe in Light

Expose your screen to a light source, transforming the unseen into visible art.

Step 5: The Wash – Unveiling the Mystery

Spray with Water

Shower your screen with water, as the unexposed tales wash away, leaving behind your design.

Dry and Marvel

Let the screen dry, as anticipation builds for the printing to come.

Pro Tips from the Artisan’s Diary

Tip Description
Sensitive Emulsion Work swiftly as the emulsion is light-sensitive, akin to handling camera film. Be quick and cautious during application to prevent premature setting.
Even Stretch Ensure the mesh is evenly stretched, comparable to crafting a balanced story. Even stretching results in flawless prints.
Quick with the Emulsion Handle the emulsion with speed and care, like applying icing to a cake. Aim for a smooth and even coating for optimal exposure and durability.
Find the Perfect Light Timing Test light exposure like baking—too little or too much affects the outcome. Experiment to discover the ideal timing for your design.
Even Emulsion Coating Apply emulsion evenly, resembling icing a cake. A consistent layer enhances exposure and durability.
Drying Matters Dry the screen in a clean, quiet environment. Dust and humidity are adversaries; flat positioning aids in maintaining even emulsion.
Be Precise with Your Design Treat your design as a blueprint. Ensure clarity and sharpness, whether drawing by hand or printing, to achieve high-definition results.
Squeegee Like a Pro Use the squeegee with expertise like rowing a boat. Maintain the correct angle and apply steady pressure for smooth printing.
Keep Your Screen Clean Regularly clean the screen to maintain its condition, like caring for a favourite dish. A clean screen ensures readiness for future projects.
Mind the Ink Maintaining the right thickness of ink is super important, just like when you’re making a smoothie. Make sure it’s not too thick or too thin, depending on the fabric and design details, so your prints turn out great!
Learn by Doing It is the game of practice. Every print offers new insights, encouraging continuous experimentation and improvement.

When the Tale Leads to Custom Printing Services

While the path of DIY screen printing is rewarding, it demands time, skill, and the right gear. If your tale seeks professional-quality prints or a larger audience, custom printing services are your knights in shining armor.

Key Features of Screen Printing

Versatile & Cost Effective, Long Lasting Prints, Great for Bulk Orders, Large Print Area & On-Time Delivery.
Screen Printing CTA Banner

The Finest Materials – With professional-grade screens and inks, your prints will be nothing short of spectacular.

Expertise and Precision – being skilled technicians, we ensure each print is gonna be a masterpiece with high quality.

Saving Time – For clothes in bulk & complex designs, get ease with our printing services, upload the design or craft manually. 

In the end, creating a screen for screen printing can be a fun and fulfilling DIY project. Whether you choose to craft it yourself or go for professional services, screen printing is a magical way to transform your designs from imagination to reality.

FAQs

What kind of light do you use for screen printing?

Typically, UV light sources are used for exposing emulsion on screens.

How can I make an exposure unit for screen printing?

You can repurpose a box or build a frame with UV lights for an exposure unit.

What is photo emulsion for screen printing?

Photo emulsion is a light-sensitive material used to create stencils on screens for printing.

Where can I find materials for DIY silk screen printing?

You can find materials for DIY silk screen printing at art supply stores or online retailers.

How can you make a display box out of cardboard?

Cut and assemble pieces of cardboard into a box shape and secure them with glue or tape.

What is a recommended UV light for screen printing?

A recommended UV light for screen printing is one with high wattage and a consistent output.

Which is more durable, puff vinyl prints or puff screen prints?

Puff screen prints tend to be more durable than puff vinyl prints.

Which is better, screen printing or heat transfer?

Screen printing is generally considered better for durability and quality as compared to heat transfer.

Suggested Read: