|
Getting your Trinity Audio player ready...
|
Mastering the art of hand embroidery can be a huge advantage.
With hand embroidery, you can embellish clothes. You can also launch your fashion brand and sell your hand embroidery services online to make handsome earnings, and lots more.
So today, we will put forward a complete guide on how to do embroidery by hand for beginners. The points include:
- What is hand embroidery?
- Can you do embroidery by hand, without using a sewing machine?
- How to do hand embroidery?
Let’s dive in.
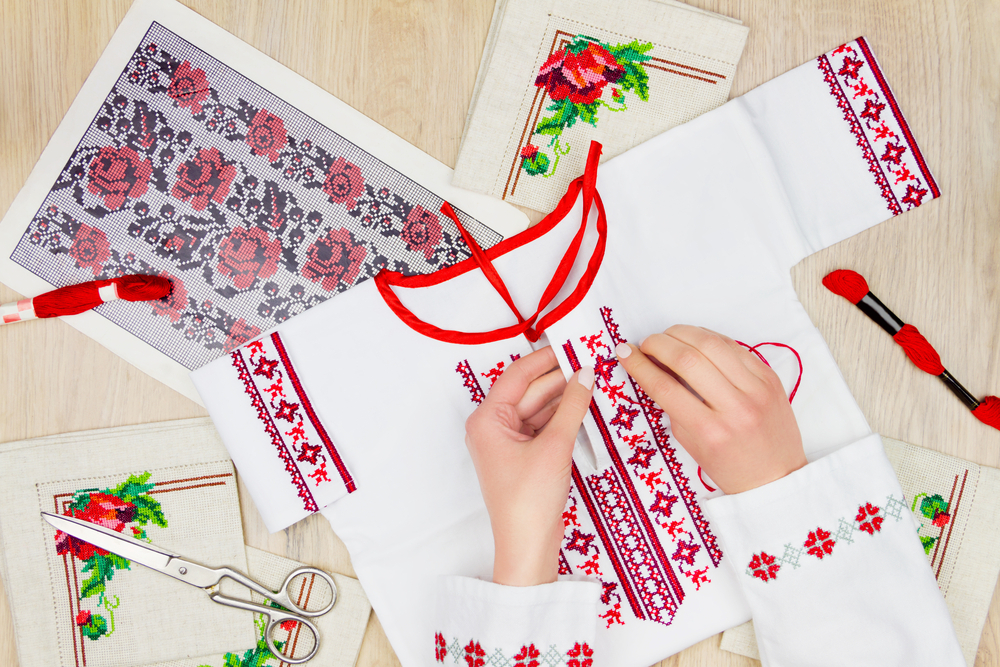
What is Hand Embroidery
Hand embroidery is an art of stitching beautiful designs over fabric with a thread and a needle.
Hand embroidery multiples the elegance of garments, quilts, and accessories with the help of beads, buttons, and ribbons as well.
Read More: Modern Embroidery Designs Ideas
Can Embroidery Be Done By Hand, Without Using A Sewing Machine
Yes, hand embroidery outperforms embroidery with sewing machines in some cases. For instance:
- You can do hand embroidery any time, anywhere, because it’s portable.
- The hand embroidery gives you a feeling of joy and calm, and it helps you meditate subconsciously, with the use of a needle and a thread by hand.
- It lets you have more control over the stitching. For this reason, hand embroidery is the best when it comes to decoration, repair, and smaller projects.
How To Do Embroidery By Hand
It takes 7 steps to practice hand embroidery from start to end:
- Step 1: Buy embroidery material
- Step 2: Hoop the fabric
- Step 3: Pick the pattern
- Step 4: Trace the pattern onto the fabric
- Step 5: Thread the needle
- Step 6: Start stitching
- Step 7: Re-thread the needle
Step 1: Buy Embroidery Material
To get started with the hand embroidery, you need to buy some basic stuff at first, such as:
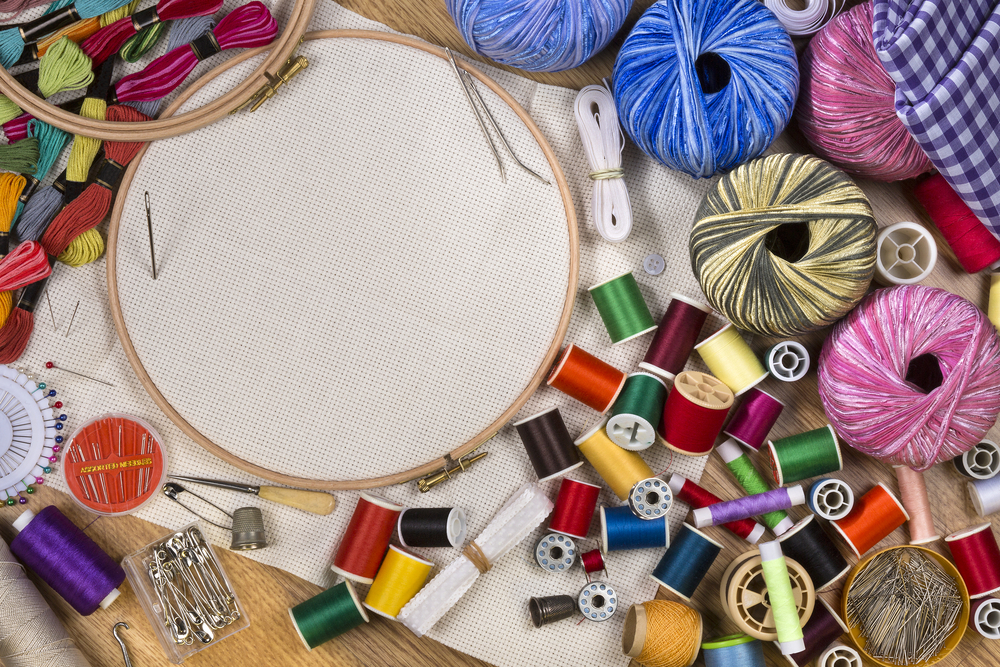
Embroidery Hoop:
It comes in various diameter sizes, from 0 inch to 20+ inches, and in wood and plastic. We recommend you to go with a 6-inch handy hoop, easy to handle.
Later on, you can move to a bigger one after getting some experience.
Lighter Embroidery Fabric:
Though you can practice hand embroidery on any cloth, we suggest that you should get an embroidery fabric. The reason is it has pre-made lines that will help you stitch easily than others.
Plus, the embroidery fabric should be a lighter one because this works wonders as the lighter fabric makes transferring patterns much more convenient.
Buy A Tapestry Needle:
It’s a round-headed needle with a large eye that will help you thread the needle with no hassle.
2 Pairs Of Scissors:
Get a pair of bigger scissors and a pair of smaller ones.
Disappearing Ink Pen
Buy a disappearing ink pen to draw on a thread and patterns.
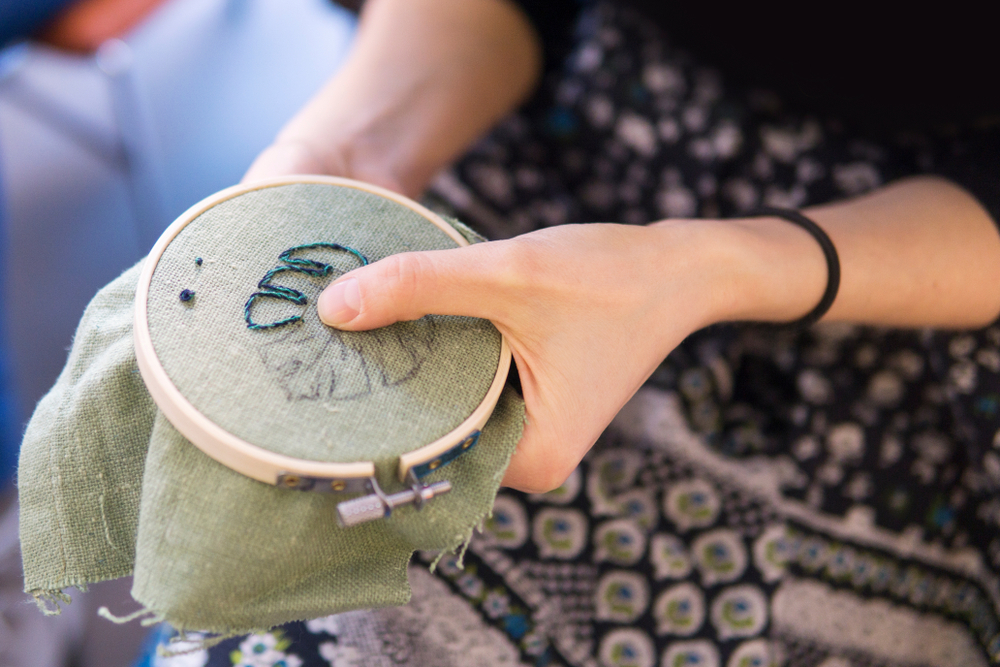
Step 2: Hoop The Fabric
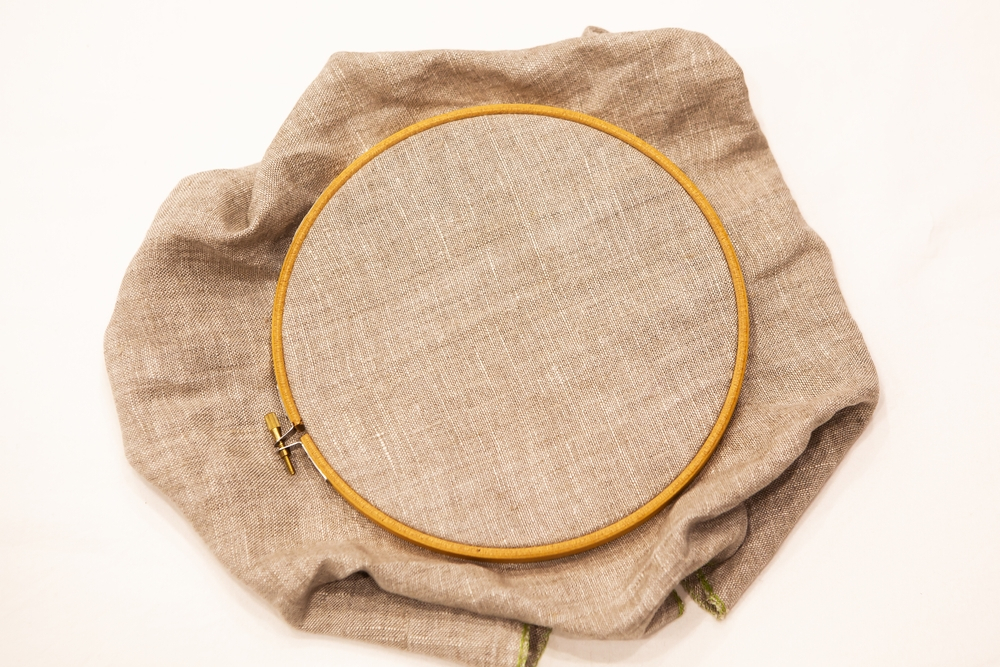
Once you have the hoop, here’s what you need to do:
1st: Loosen the screw on the outer circle to bring apart the inner and outer circles of the hoop.
2nd: Keep the inner circle underneath your fabric on a flat surface.
3rd: Tighten the screw of the outer circle by placing the circle on top of the fabric until the fabric gets taut.
Step 3: Pick A Pattern
Pick a pattern of your choice by browsing over Google “free embroidery patterns”. There you will get countless stunning patterns absolutely free. Choose the pattern you love the most.
Step 4: Trace The Pattern
Here’s how to trace the pattern:
1st: Place any sort of light behind the pattern.
2nd: Use the disappearing ink pen to trace the design onto the backside of the fabric.
3rd: Tada! The moment of stitching is finally here.
Step 5: Thread The Needle
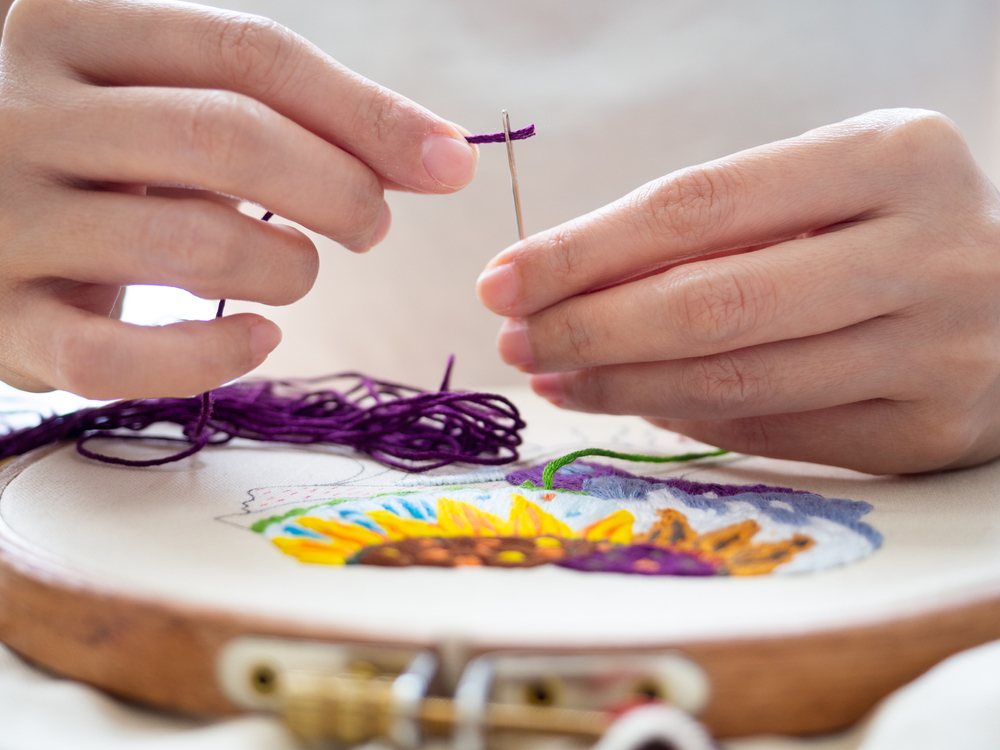
Thread the needle as follows:
1st: Grab the dangling thread on your floss bundle
2nd: Pull around 3-feet of floss out and cut it.
3rd: Divide the floss into 2 equal strands and pull them apart slowly. There should be a total of 6 individual strands.
4rth: Once you thread 1 strand of separated floss through your needle’s eye, let one side of the string run short and another run long (about 5 inches).
5th: Take the long end to make a knot.
Step 6: Start Stitching
There are lots of stitching methods, but you, being a beginner, should start with the easiest stitching method: Backstitch.
Here’s how:
1st: Thread the needle from the back of the fabric to the front and pull gently. Pull the needle until the needle brings the fabric all the way and the knot catches in the back.
2nd: From there, move a centimeter over on the pattern and thread it back down.
3rd: Repeat the 1st step by threading the needle through the fabric’s backside, again a centimeter, down from the last stitch to the fabric’s front.
4rth: Moving backward, thread it back through the second hole you just completed to continue the line without gaps.
Step 7: Re-Thread The Needle
At the end, the thread will run out, and then you just need to finish your stitch.
Next:
1st: Thread the needle underneath the line of stitching on the fabric’s backside and tie it in a knot.
2nd: Follow the 5th step mentioned above, and thread the needle again to continue embroidery.
3rd: Finally, take out the fabric from the hoop, and use the fabric however you want.
Final Word:
We hope this step-by-step guide on how to do embroidery by hand will make it way easier for you to learn and give hand embroidery a shot.
Images Source: Shutterstock
Also Read:
- The Art of Embroidery; Origin To Present
- The Art Of Embroidery For Beginners
- Modern Embroidery Designs Ideas For Workwear 2022